3D printed ocarina

Project Description
For my final project in Music Instrument Design & Manufacture, I designed and 3D printed an ocarina. An ocarina is a wind instrument that produces tones through a phenomenon called Helmholtz Resonance. Helmholtz resonators produce sound waves through a vibrating column of air at an opening in a volume of air.
I started the project by researching existing 3D printed ocarinas and their characteristics. I created an ocarina shape in SolidWorks defined parametrically by the length and depth of the ocarina, with other variables being defined as ratios of those two input dimensions. This preserved the characteristic shape of the ocarina when its size was changed. I then worked on designing the fipple (or air blade) of the instrument. My first design did not produce clear tones, so I adjusted the design based on an existing design I saw on Thingiverse. I split the model into two pieces, so that fipple geometry and sound hole geometry could be adjusted without re-printing the whole ocarina.
I then began to experiment with sound holes in the body of the ocarina. I made holes of different diameters and recorded the pitch that they produced. I logged all of the data in excel and began to make models to predict the relationship between frequency and sound hole area. By looking at the derivatives of my model near notes I wanted to produce, I could estimate how much I needed to adjust a hole to tune it to a desired note.
My final version produced a clear tone, and I could even play simple songs like Jingle Bells and Mary Had A Little Lamb. Finally, I wrote a report in which I analyzed the harmonic energy of different notes played on my ocarina. This was a fun project that taught me a lot about rapid prototyping and iterating based on predicted data.

The ocarina is defined by many equations in SolidWorks. This makes it parametric.

Early models included lots of holes of different sizes, for testing.

I focused on making the design ergonomic and easy to play. Each note requires lifting a maximum of 2 fingers.

The final ocarina is held together with a rubber band and a bit of glue.

The sound hole on the back is used to play the two highest notes, D5 and E5.
The ocarina scale goes from E4 to E5 and can be listened to below

The new fipple design integrates the air blade with the body of the ocarina.

This is a graph of the two models (frequency vs sound hole area) I used to approximate hole sizes.
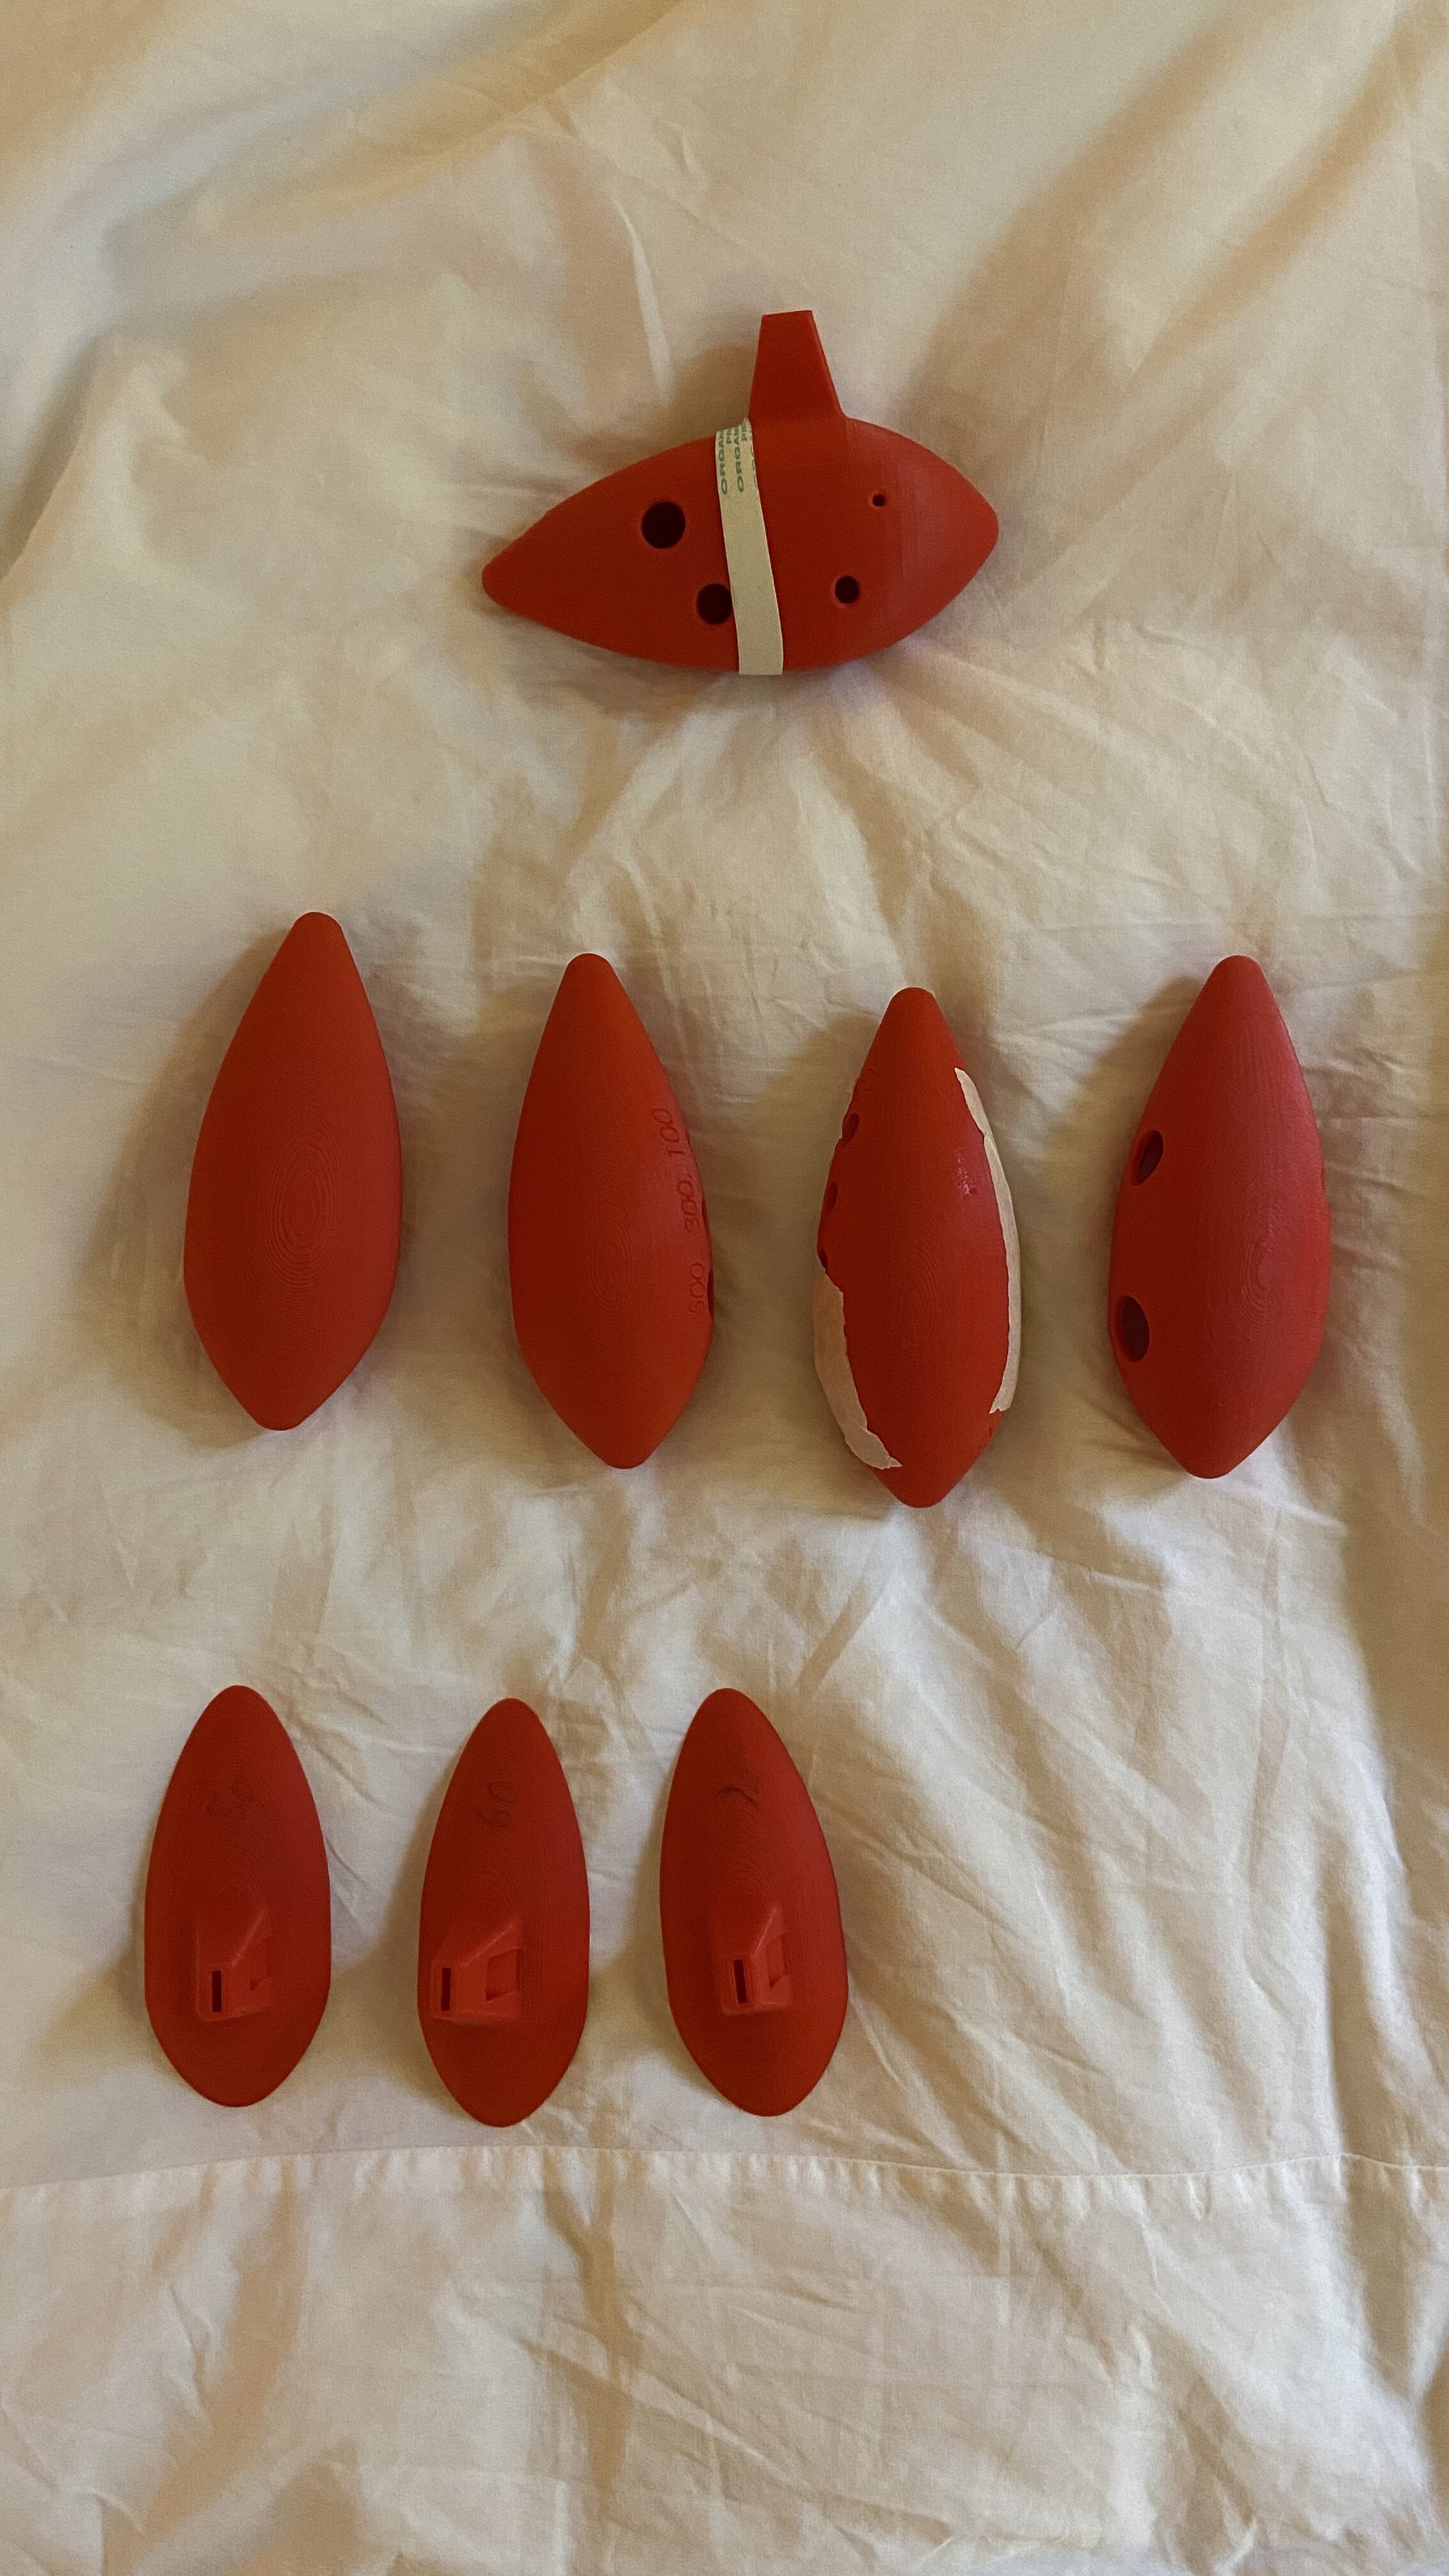
The graveyard of prototypes was large for this project, due to the precision needed to design a good wind instrument.